Surgical clothing for cats: step by step how to make it at home!

Table of contents
Surgical clothing for cats serves to protect the operated areas and prevent infections in the healing process. It prevents the feline from coming into contact with the site and also ensures that the region is not exposed, which can worsen the post-surgical period. After cat castration, for example, it is important to protect and maintain the hygiene of the incision area, in addition to administering the medicationsWith the surgical garment, cats do not suffer the discomfort of the Elizabethan collar and can live their routine more calmly. Learn how to make the garment at home in just five steps
Step 1) Take the cat's measurements for the post-surgical garment and make the first cuts in the chosen fabric

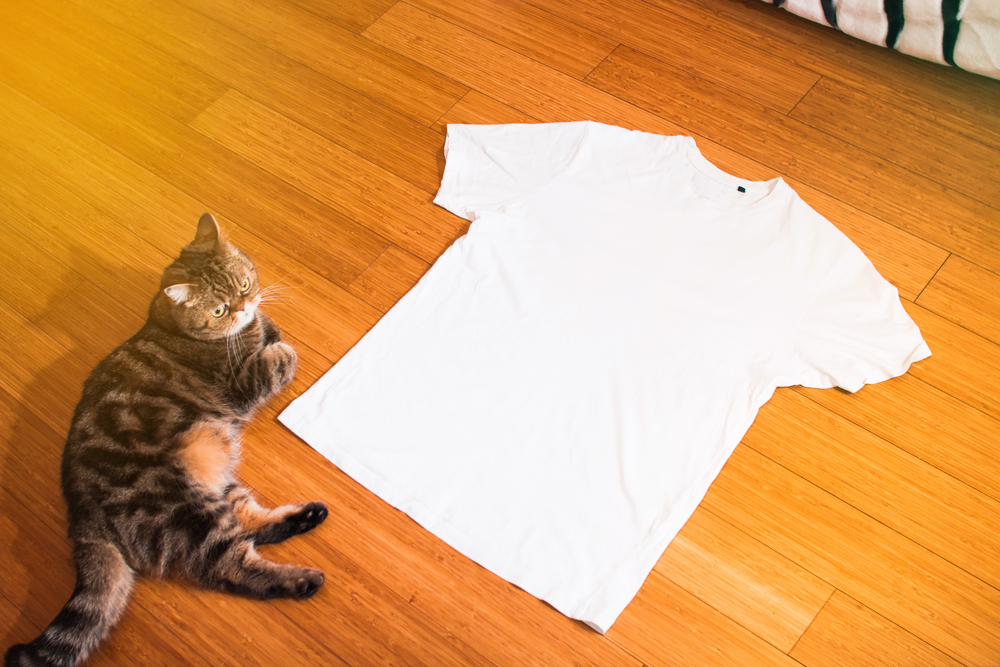
To make surgical clothing for cats, you will only need leggings (or a long-sleeved t-shirt) and scissors. It can be an old garment that you no longer use. But it is important that the fabric is cotton with elastane to ensure more quality and safety. The elastane serves to stretch the fabric, so it will not be a problem to be too tight.
After sorting out the materials, take the cat's measurements: use a sewing tape measure to measure the cat's neck, chest, back and belly area. It is also important to measure the distances between the front and back paws.
After measuring everything, compare it with the sleeves of the shirt or the legs of the leggings. Ideally, they should be larger than the feline. With all this right, make a cut: in the shirt you must remove the sleeve and in the pants you just have to cut one of the legs. The result is a rectangular strip with two entrances, one for the cat's head and the other that will accommodate the rear area. A tip is to take advantage of the two legs of the leggings.leggings and the two sleeves of the shirt, as each feline has its own recovery time after cat neutering (which lasts an average of ten days) and it may be necessary to take turns between one piece of clothing and another.
Step 2) Make cuts in the surgical garment for cats to place their front paws in

The next cuts are made to position the front part of the cat. To accommodate the feline's head well in the garment and prevent the collar from being too loose, prefer to use the smaller side of the garment and then make two round cuts (half moon) on each side and close to the collar. These entrances serve to place the cat's front paws. They do not have to be large cuts, but one of thecare you should take with your cat's paws inside the surgical garment is to do a test to see if it is not too tight, which will hinder the cat's gait.
Step 3) Now it's time to make a cut on the back of the garment

Once the top part is done, it's time to make the cuts in the fabric that will accommodate the cat's hind legs. To do this, fold the strip in a vertical position and make a cut from halfway down, as if it were an inverted half-U. This is important to create two more tie-down strips for the back. Just be careful: the cut cannot be so large as to expose the surgery and not so short as to make it too long.do not squeeze the cat.
Step 4) Home-made post-surgical cat clothing should have ties at the back

Finally, unfold the strip and make a cut on the sides from where the U-shaped cut was made, to the beginning of this last cut from step 3. And then the tie-down strips for securing the surgical cat suit are ready. The importance of quality material is put to the test in these strips: they must hold the tie-downs without tearing. Now it's time to put on the cat suit.
See_also: My dog had distemper, now what? Meet the story of Dory, a survivor of the disease!Step 5) How to put the surgical garment on the cat without stressing him out

In addition to knowing how to make post-surgical clothing for cats, the guardian must know how to put the protection correctly. But it is not very difficult. One tip is to put it on as soon as the cat leaves the operating table and is still under the effect of the sedative. This avoids stress and the guardian can be more careful with the stitches of the surgery. In addition, it is possible to make adjustments to the feline's body if necessary.
Start by putting on the head and then place the front paws in the side cuts made on the front. Put on the rest. For the back paws, there is a detail: join the two strips on one side so that it hugs a back paw and then make a knot. Repeat the process on the other side. Tie well, but not too tightly to secure the back paws. This detail of tying makes it easier when it comes to timeto clean and take care of the stitches: just untie one or both sides to gain access, being even more practical and comfortable than the Elizabethan collar.
See_also: How do you know if your cat is meowing a lot and is in pain or uncomfortable?

